
From damage assessment to finish
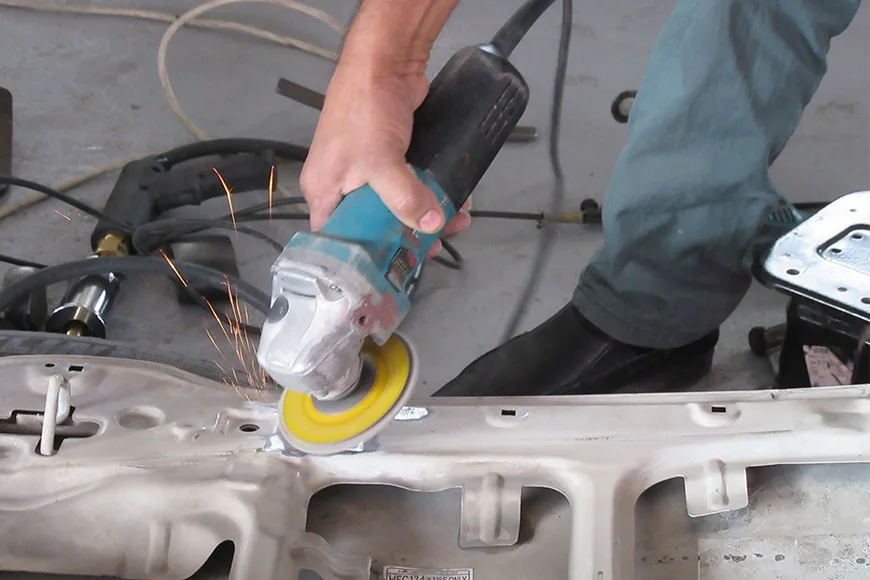
The process may include documenting damage, checking adjacent components, planning repair or replacement, metal or panel work, surface preparation, colour matching, paint application, curing, reassembly and final finish inspection.
Why timing varies
Repair time depends on damage depth, access, hidden damage, parts availability, paint preparation and insurer approval where applicable. A confirmed schedule follows inspection rather than an online photo alone.
Accident and insurance-related work
NK Auto’s legacy materials describe assistance with insurance claims. Current insurer relationships and approval procedures must be confirmed directly with the workshop before relying on them.
Repair versus replacement decisions
Panel material, damage location, access, stretched metal, corrosion and safety relevance influence whether repair is appropriate. Cosmetic appearance is only one factor; mounting points, closures, lamps, sensors and adjacent structure must also be considered.
A good estimate identifies which decisions are confirmed from visible inspection and which require trim removal or dismantling. It should not promise an exact finish date before parts and hidden damage are understood.
Colour and finish expectations
Colour matching is affected by the original paint code, existing fading, previous repairs, material and viewing light. Preparation and blending strategy can matter as much as the colour formula. Discuss the intended repair area and reasonable finish expectations before work begins.
After refinishing, follow the workshop’s advice about washing, polishing and curing. Inspect panel alignment, surface consistency, lamps and warning indicators at collection.
Photography and privacy
Damage photographs help document the starting condition and support internal repair planning. Remove personal items and avoid including documents, faces or unrelated vehicle information when sending images. Ask how images will be used if they are proposed for a public case study.